Autoencoder
00
The above is a demo displaying the output of the autoencoder that I trained. Play it with it to see how the two inputs change how the image output looks like.
How Autoencoders Work
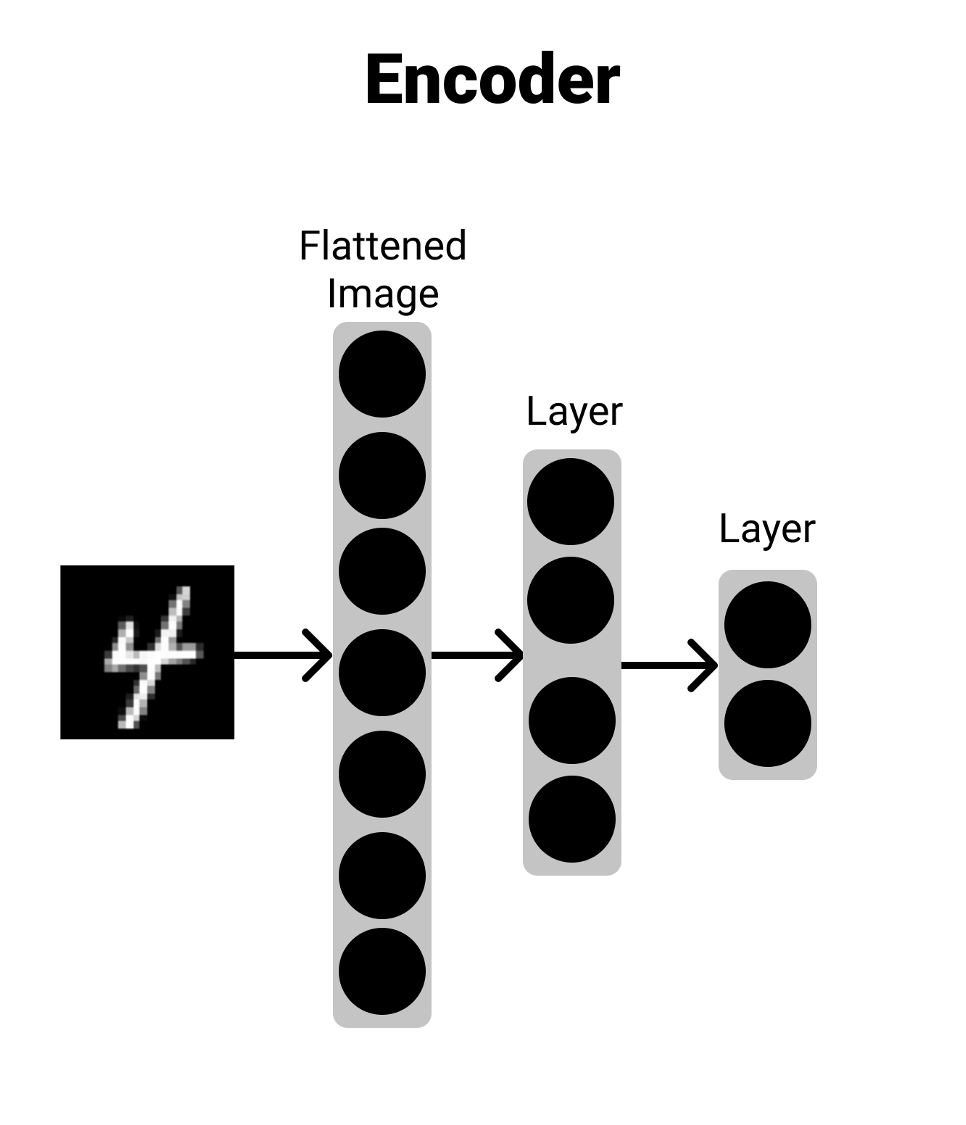
An autoencoder is pretty simple in its nature. The idea is that the input and the output should be pretty similar. The general artitecture is that you have an input that gets reduced down to a smaller vector or dimension then gets built back up to it's original size. You can think of it as being made of in two parts, the encoder and the decoder. The Encoder reduces the input down to another representation and the decoder can build it back up to the orignal input.
The Encoder

The encoder works by taking an input and reducing it down. It does this by having different layers try and learn what's important and reducing that information down layer by layer. In the image, you can see that, it can take an input, run it through a few layers and then give an output. You can think of this trying to compress down important information about the input into a smaller represnetation.
The Decoder

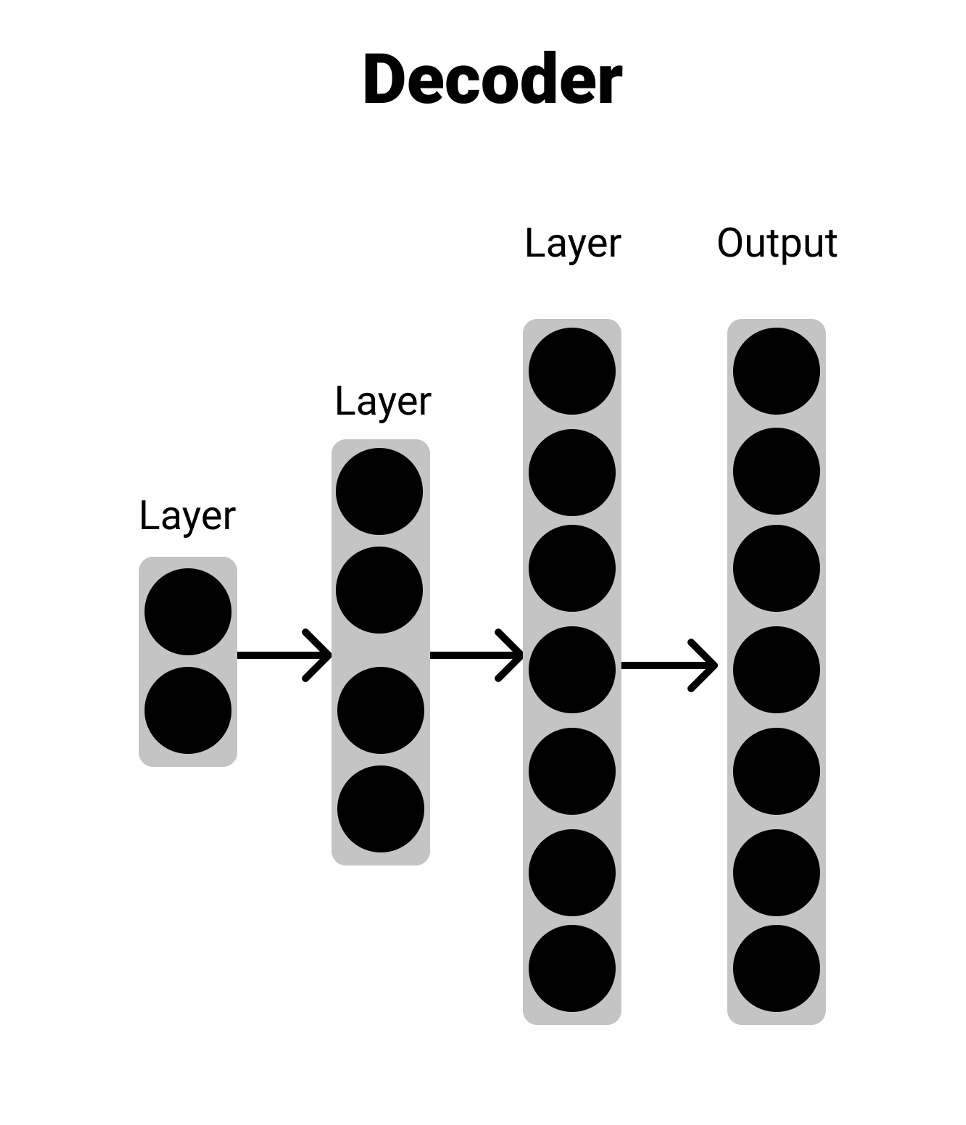
The decoder is pretty much the reverse of the encoder. It takes in some input vector and brings it back up to the orignal vector size. You can think of this taking a compressed input and trying to decompress it into the original input.
My Model
My model is pretty simple. It takes an input image of the MNIST dataset (handwritten numbers), compresses it down and then restores it. I then take the decoder part of the autoencoder explore the reduced dimensionality to see how the different numbers are seperated. You can think of this as reducing the images down to points on a 2D grid. In theory, simliar numbers should be closer together in this space (and if you check out the github link you can see this :)). Below is a simple visualization of how my network is set up.


You can find my implementation on GitHub